| Welcome to HaleNET |
 |
 |
 |
 |
 |
 |
| |
|
| |
| Halenet Web Services |
 |
 |
|
|
HaleNET Setup for Windows 98
| Step | Images |
Step 1.
To setup your Internet connection please follow the following instructions.
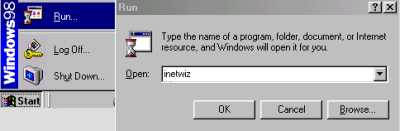
Select "Start" then Select "Run" from the Start Menu. Type "inetwiz" into the run field and Select "OK"
|
 |
Step 2.
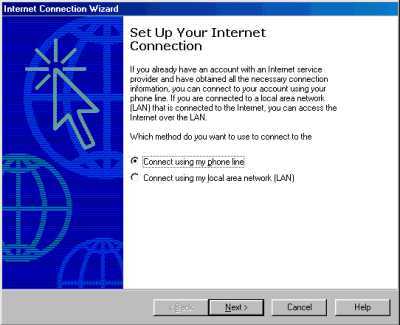
On the Internet connection wizard screen that asks for the method you use to connect,
"Select" Connect using my phone line.
Then "Select" the Next Button
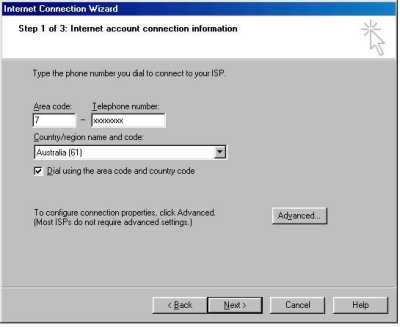
You will then be prompted for the Area code and Phone number.
In the Area Code type a "7" Note: Don't put 07, windows will add a 0 for you in most cases.
Next type the phone number from the list below into the phone number field.
If you live in Warwick, then the phone number should be 4661 0000.
If you live between Dalveen and Walangarra the phone number should be 4681 5000.
If you live in Tenterfield then the phone number should be 4684 3039
If you live in Clifton then the phone number should be 4666 2494
**** If you are unsure of which phone number to use then please Contact HaleNET ****
Then unless you are in Tenterfield "Untick" the dial using area code and dialing properties.
Select "Next"
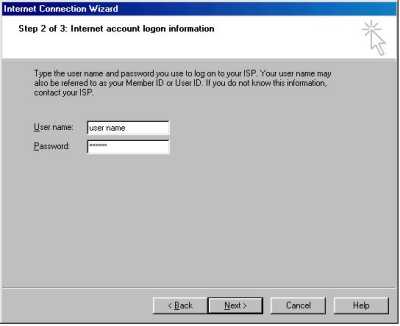
In the username field type your username in lower case
Followed by your password. The password can be a mixture of upper case lower case and numbers.
Then "Select" Next
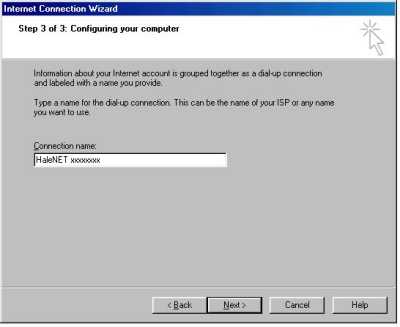
Type the connection name into the Connection name box: ie HaleNET Tenterfield
Then "Select" Next
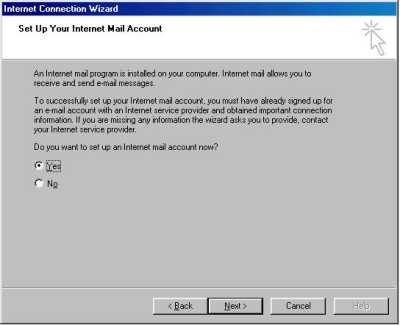
You will now be asked if you want to set up an email account now. HaleNET recommends you select yes.
Select Yes
Now Create a new internet mail account
Select Next
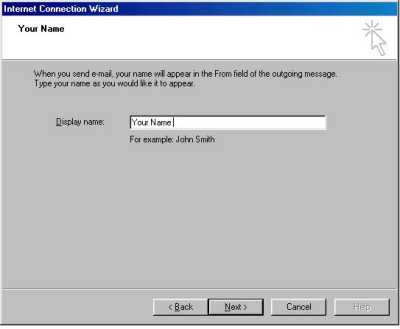
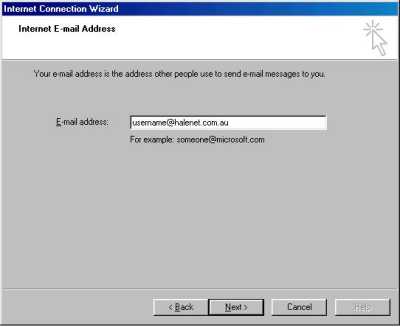
In the display name field type, What you want people to see when you send then an email. ie: Your business name or your name or a comical name
Then Select Next
In the email address field type your HaleNET login_id@halenet.com.au
Select Next
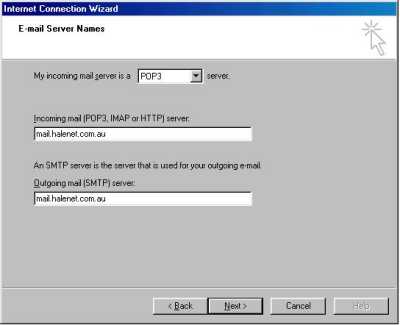
Your mail server is a POP3 server.
In the incoming and outgoing mail server address fields type.mail.halenet.com.au in lower case
Then "Select" Next
In the account name field type you HaleNET login_id ie: bblogs
Then type your password in the password field.
The Use secure password option should be left blank
Select Next
Then Select Finish
|
|
Step 3.Optimising your system
| Instructions |
Step 4.
Setting up your Browser.
| Instructions |
Step 5.
Connecting for the first time
| Instructions |
Step 6.
Troubleshooting
| Instructions |
| | |
Web Design by HaleNET
|


 i
i


